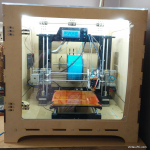
Build your own fully functional 3D Printer with our DIY kit, which contains everything you need to get started. We feel it is rewarding to build one, and its a great learning experience. This version of Reprap Prusa i3 has been customized and developed in India, with all enhancements we felt were necessary in order to make a great 3D printer.
Build your own fully functional 3D Printer with our DIY kit, which contains everything you need to get started. We feel it is rewarding to build one, and its a great learning experience. This version of Reprap Prusa i3 has been customized and developed in India, with all enhancements we felt were necessary in order to make a great 3D printer.
Below are the highlights of our kit
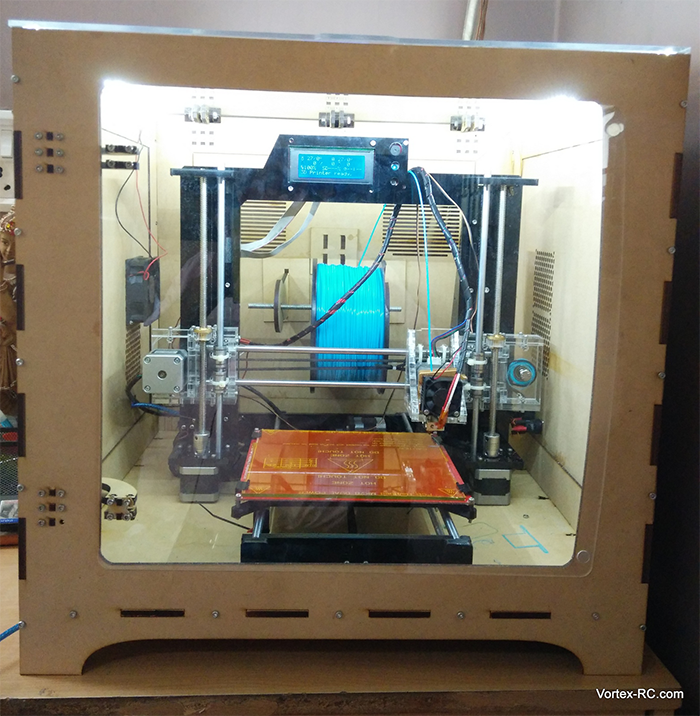
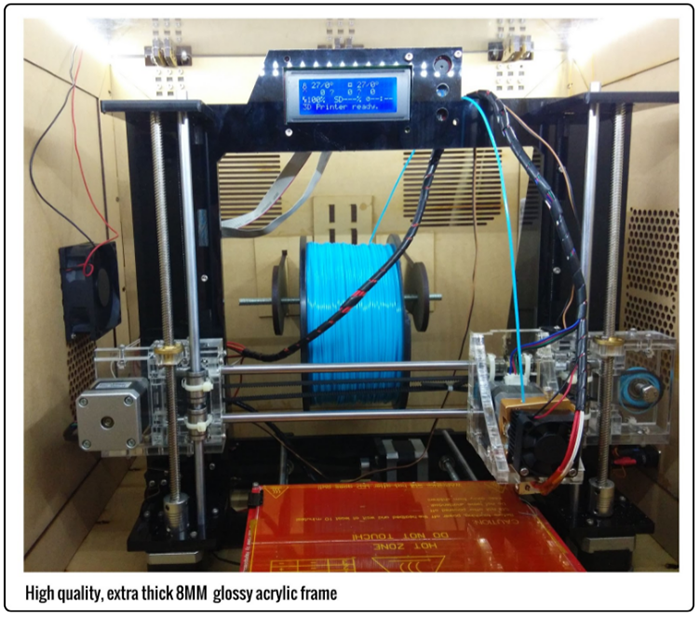
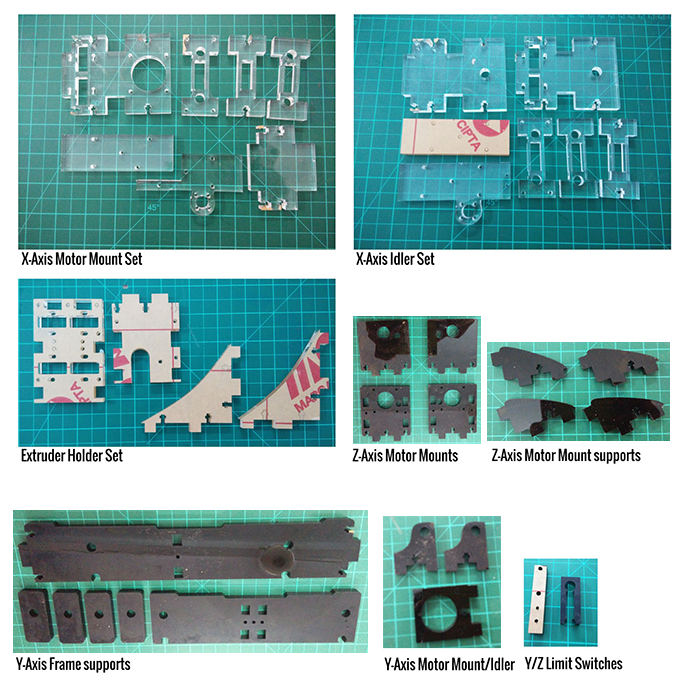
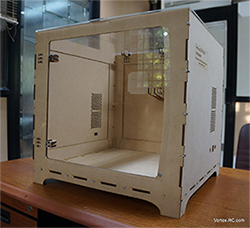
High quality, extra thick, rigid and heavy acrylic frame
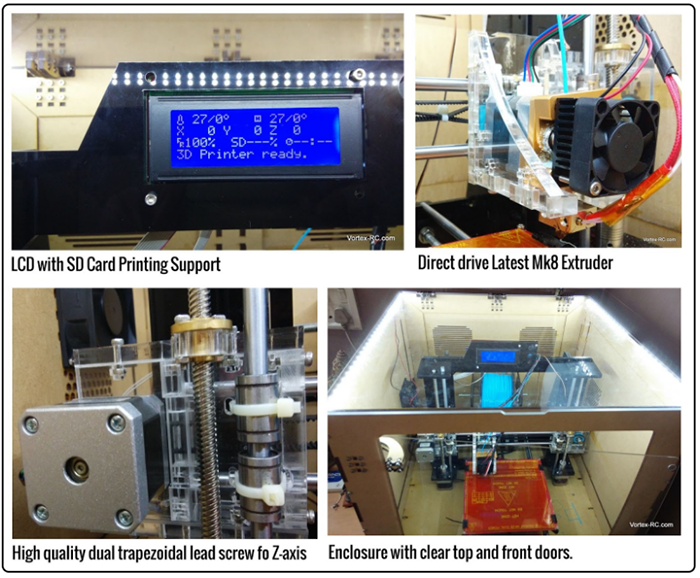
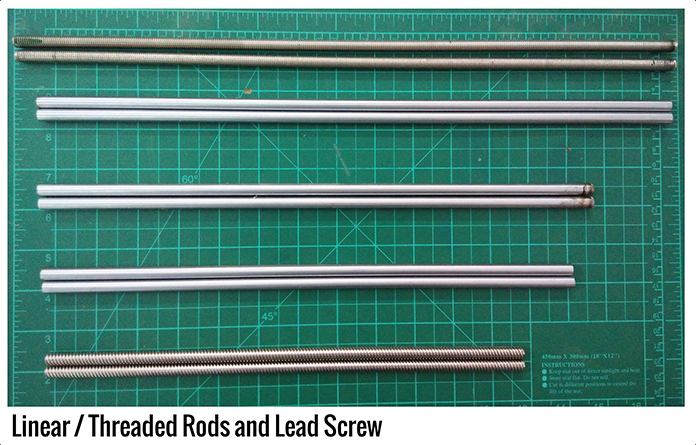
High quality dual trapezoidal lead screw for Z axis.
LCD display with SD Card to allow printing without a computer
Enclosure with clear openable front and top doors, allowing easy heating of bed and prevents air drafts from warping the build.
Internal spool holder.
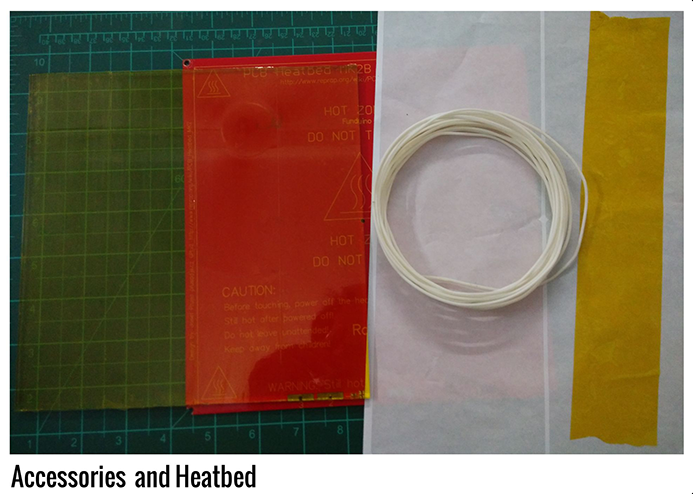
Heated bed for ABS prints
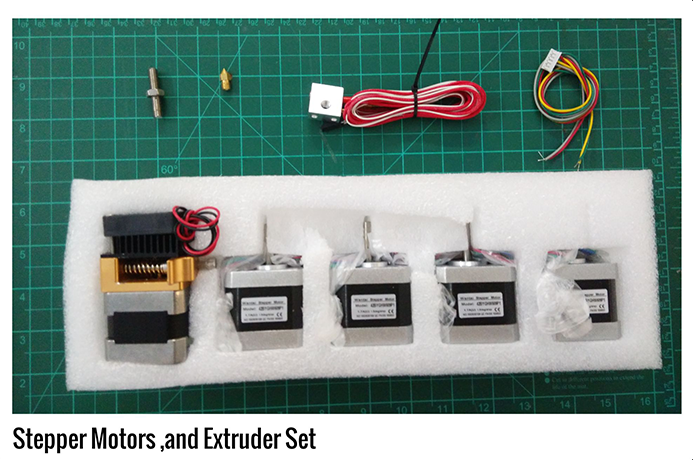
MK8 Direct drive high quality extruder with 0.4mm nozzle
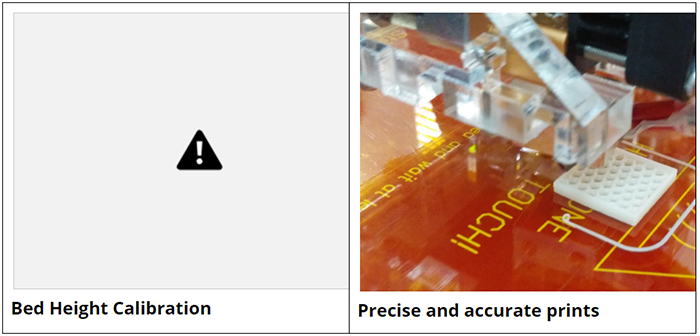
Adjustable Z-axis end stop
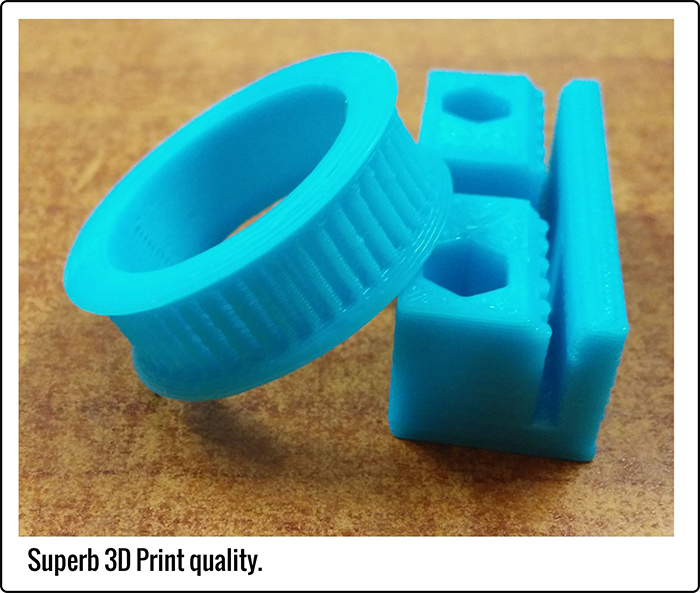
Precision of upto .3mm
190mmx190mmx190mm Build platform.
Glass bed precovered with Kapton Tape
Complete pre-configured software suite provided for ready download.
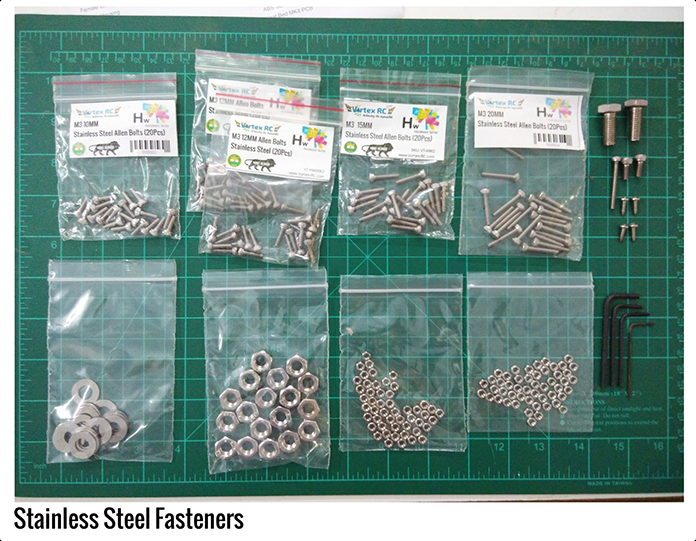
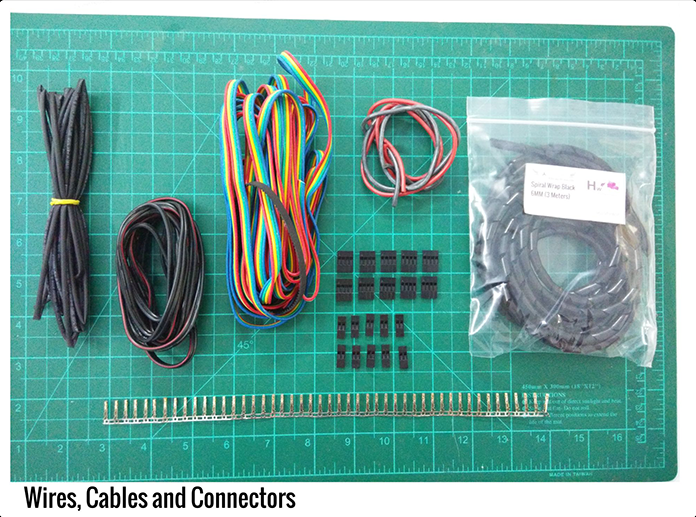
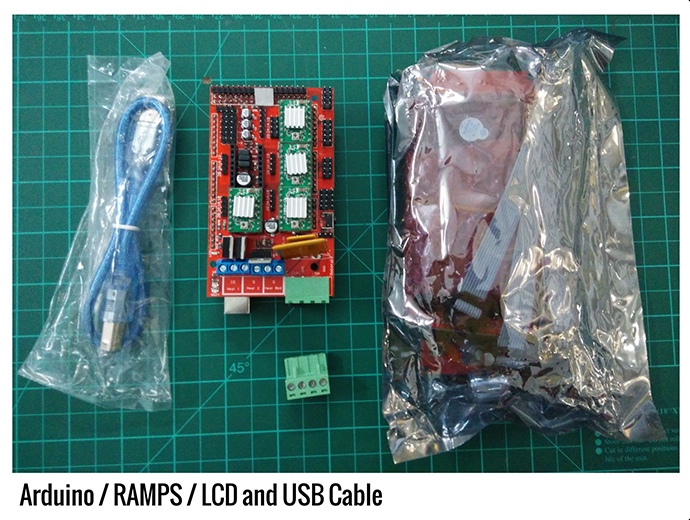
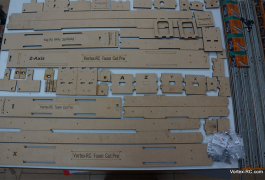
Kit contains all electronics, wiring, fasteners, everything to complete the printer.
Detailed, illustrated manual to help complete the build.
Kit designed, developed and assembled in India, by team with many years of 3D Printing experience
Requires:
Basic Tools – Screw drivers, solder iron, solder wire, pliers, some wrenches, and a crimping tool.
Electronics skills – Well basic skills, ie you should know to solder, crimp wires, and make the right connections ( as given in the manual )
Patience – Some amount of patience and perseverance is required to follow through all the steps, test, tweak and tune the 3D Printer
Computer with a USB port running windows.
Technical Specifications
Positioning accuracy: Z 0.004mm, XY 0.012mm
Print precision: 0.1 mm
Speed : 100 mm/s
Building size: 190 X 190 X 180mm
Printing Color: Single color
Extrude diameter: 0.4mm (0.3MM available on request)
Recommended extrude temperature: 230°C (for ABS)
Heating plate temperature: 80C for ABS
Best ambient temperature: ≥25°C
Power requirements: 20V,240W,50Hz, 1A
Connection via TF card or USB
The file print format: STL,G-Code
Compatibility: Windows XP, Windows Vista, Windows 7, Linux, Mac OX